Shiplap Installation Services Overview
This page helps property owners learn about shiplap installation services and connect with local contractors who perform this work.
- - Residential homeowners seeking to add character and warmth to living spaces with stylish shiplap walls.
- - Interior designers and remodeling professionals looking for reliable local contractors to handle shiplap installation projects.
- - Property managers and landlords aiming to enhance rental units or common areas with durable, attractive shiplap paneling.


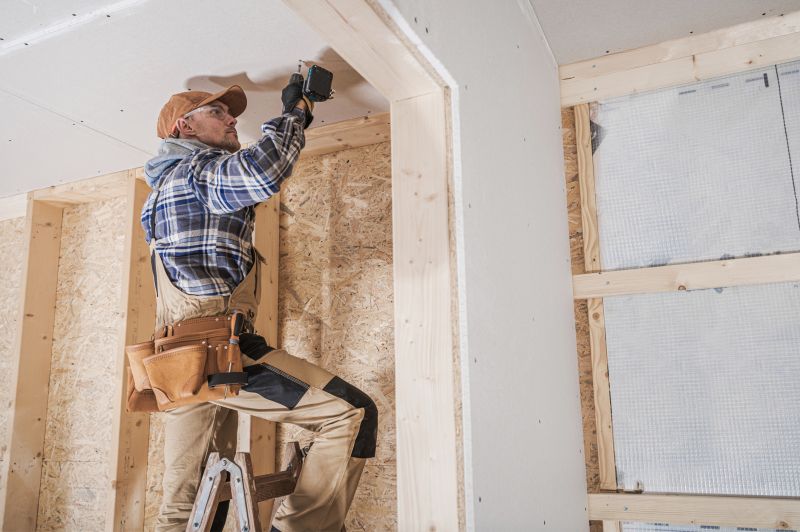
Shiplap installation is a popular choice for enhancing interior walls with a stylish, textured look. Property owners often seek help from local contractors who specialize in wall paneling and decorative woodwork to achieve the desired aesthetic. These professionals typically handle tasks such as measuring, cutting, and securely installing shiplap planks, ensuring a clean and even finish. Whether updating a single room or transforming multiple spaces, local service providers can offer guidance on design options and manage the installation process efficiently.
Connecting with experienced local pros can simplify the process of adding shiplap to a home or commercial space. They understand the nuances of working with different wall types and can help address common challenges like uneven surfaces or tight corners. Property owners can expect knowledgeable service providers to deliver quality work that aligns with their vision, whether it involves traditional wood or modern alternatives. By comparing local contractors through a trusted lead generation platform, property owners can find the right professionals to handle their shiplap installation needs.
This guide provides helpful information to understand the key aspects of Shiplap installation projects. It assists in comparing local contractors and connecting with qualified service providers in your area. The content aims to prepare homeowners with the basics needed to discuss their project with local experts.